
2 月 . 16, 2025 07:01 Back to list
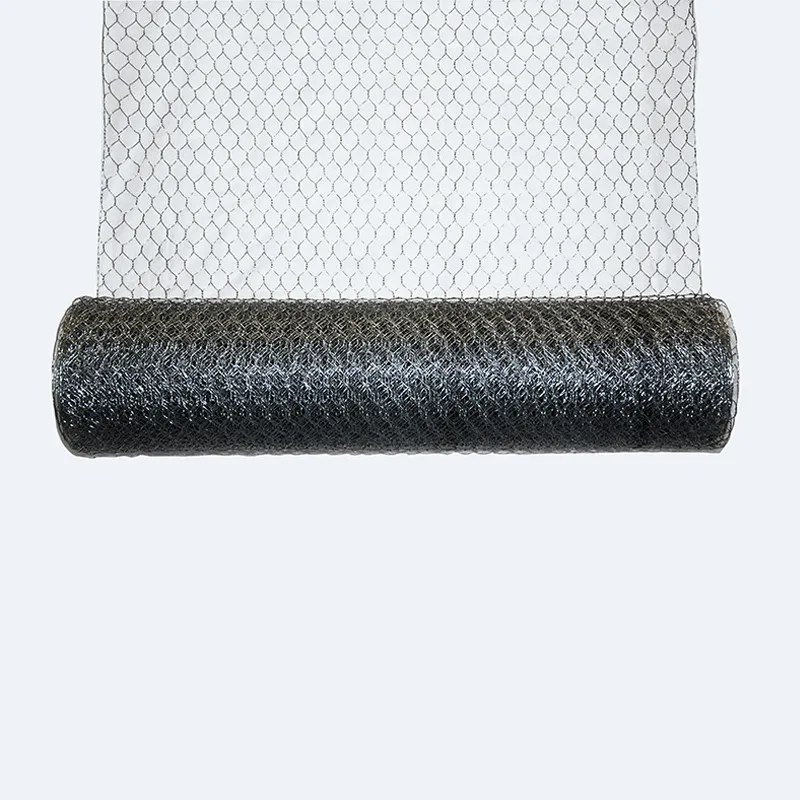
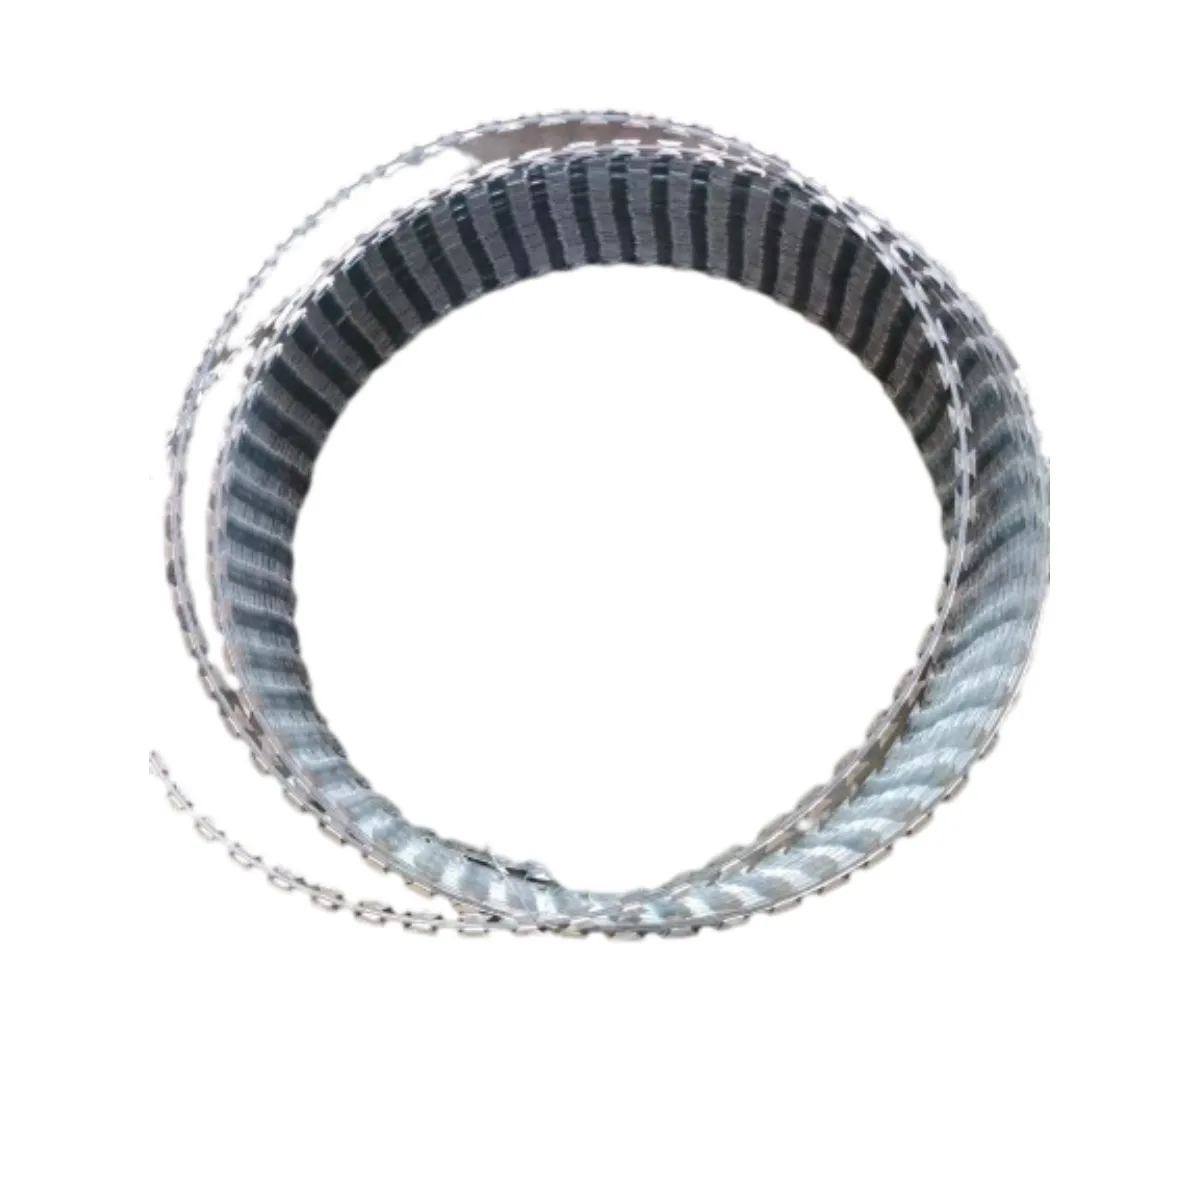
razor wire and barbed wire
Splicing barbed wire is an essential skill for anyone involved in agriculture, fencing projects, or security installations. The process involves joining two sections of barbed wire to create a continuous, effective barrier. This task may sound straightforward, but it requires precision, the right tools, and a keen understanding of the materials involved to ensure the splice is strong and durable.
Once the first side is secure, repeat the process on the opposite end of the wire, ensuring an even amount of wraps and tension. It is crucial to ensure that each twist is tight and leaves no gaps where wires could potentially shift or become loose over time. Expertise in this field suggests testing the strength of your splice before moving on. Gently pull on both ends of the spliced wire to confirm the joint is solid. If any movement is detected, reinforce the splice by adding additional wraps to both ends or tightening existing ones. It is worth noting that this technique of splicing, while commonly used, must adapt to different environments and wire types. In colder climates, barbed wire can become brittle; therefore, warming the wire slightly can help in achieving tighter, more secure twists. Conversely, high-temperature areas may require additional splices along extended sections to account for thermal expansion of the metal. According to authoritative sources in agriculture and fencing, regular maintenance checks on spliced sections are recommended. Inspecting for rust, wear, or shifting ensures the barrier remains in optimal condition. Trusted contractors might schedule bi-annual checks, especially in areas exposed to harsh weather or frequent animal contact, to ensure long-term reliability. To wrap up, splicing barbed wire effectively demands a blend of proper tools, precise techniques, and ongoing maintenance. By following these guidelines, one can ensure that their fences are not just durable but also provide the necessary security for any designated area. This authoritative approach to splicing not only enhances the longevity of the wire but also establishes trust in its application, safeguarding investments for years to come.


Once the first side is secure, repeat the process on the opposite end of the wire, ensuring an even amount of wraps and tension. It is crucial to ensure that each twist is tight and leaves no gaps where wires could potentially shift or become loose over time. Expertise in this field suggests testing the strength of your splice before moving on. Gently pull on both ends of the spliced wire to confirm the joint is solid. If any movement is detected, reinforce the splice by adding additional wraps to both ends or tightening existing ones. It is worth noting that this technique of splicing, while commonly used, must adapt to different environments and wire types. In colder climates, barbed wire can become brittle; therefore, warming the wire slightly can help in achieving tighter, more secure twists. Conversely, high-temperature areas may require additional splices along extended sections to account for thermal expansion of the metal. According to authoritative sources in agriculture and fencing, regular maintenance checks on spliced sections are recommended. Inspecting for rust, wear, or shifting ensures the barrier remains in optimal condition. Trusted contractors might schedule bi-annual checks, especially in areas exposed to harsh weather or frequent animal contact, to ensure long-term reliability. To wrap up, splicing barbed wire effectively demands a blend of proper tools, precise techniques, and ongoing maintenance. By following these guidelines, one can ensure that their fences are not just durable but also provide the necessary security for any designated area. This authoritative approach to splicing not only enhances the longevity of the wire but also establishes trust in its application, safeguarding investments for years to come.
Latest news
-
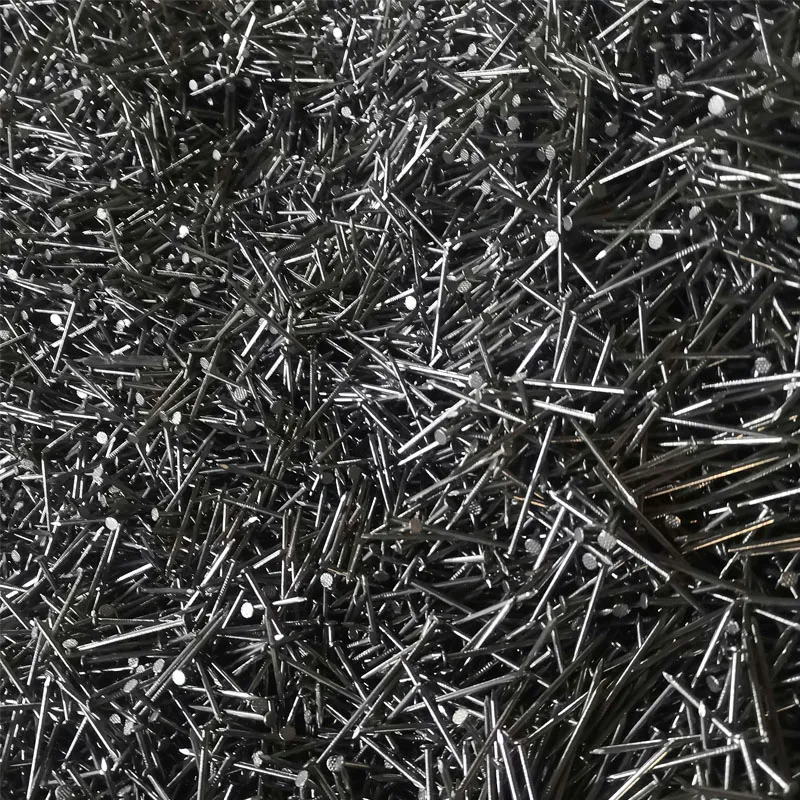
Secure Your Roof with Quality Roofing Nails
NewsNov.04,2024
-
Secure Your Property with Quality Field Fencing
NewsNov.04,2024
-
Enhance Your Space with Quality Mesh Fencing
NewsNov.04,2024
-
Discover the Versatility of Iron Wire for Your Projects
NewsNov.04,2024
-
Discover the Versatility of Common Nails for Your Projects
NewsNov.04,2024
-
Discover Quality Hydraulic Fittings for Your Applications
NewsNov.04,2024